It seems like this summer just came out of nowhere, if I’m being honest. It seems like yesterday I was wearing my hoodie and chasing prespawn bass and now I’m loading my boat with dozens of cold water bottles and sweat rags for a simple afternoon fishing trip. Where has the time gone?
We’re not the only ones this hot weather is affecting, however. With water temperatures constantly on the rise, the bass fishing action can get pretty darn tough this time of year. They’re becoming more lethargic by the day and to make things even more difficult, they’ve been pressured throughout the entire spring and are becoming increasingly suspicious of our offerings.
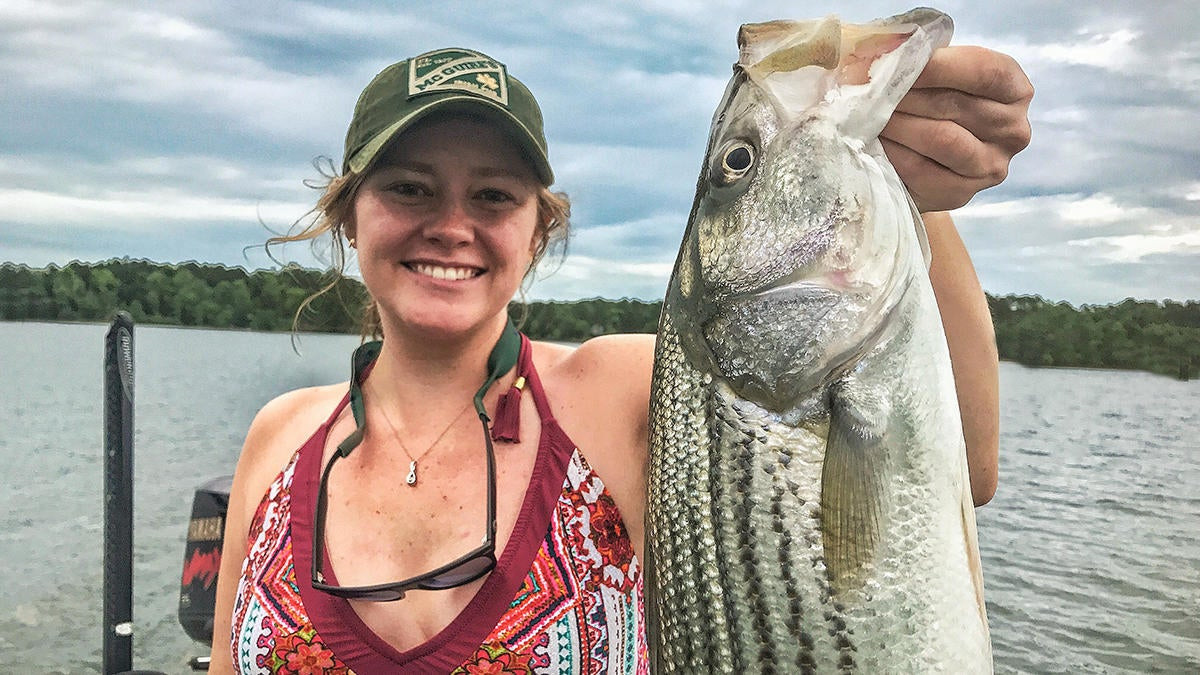
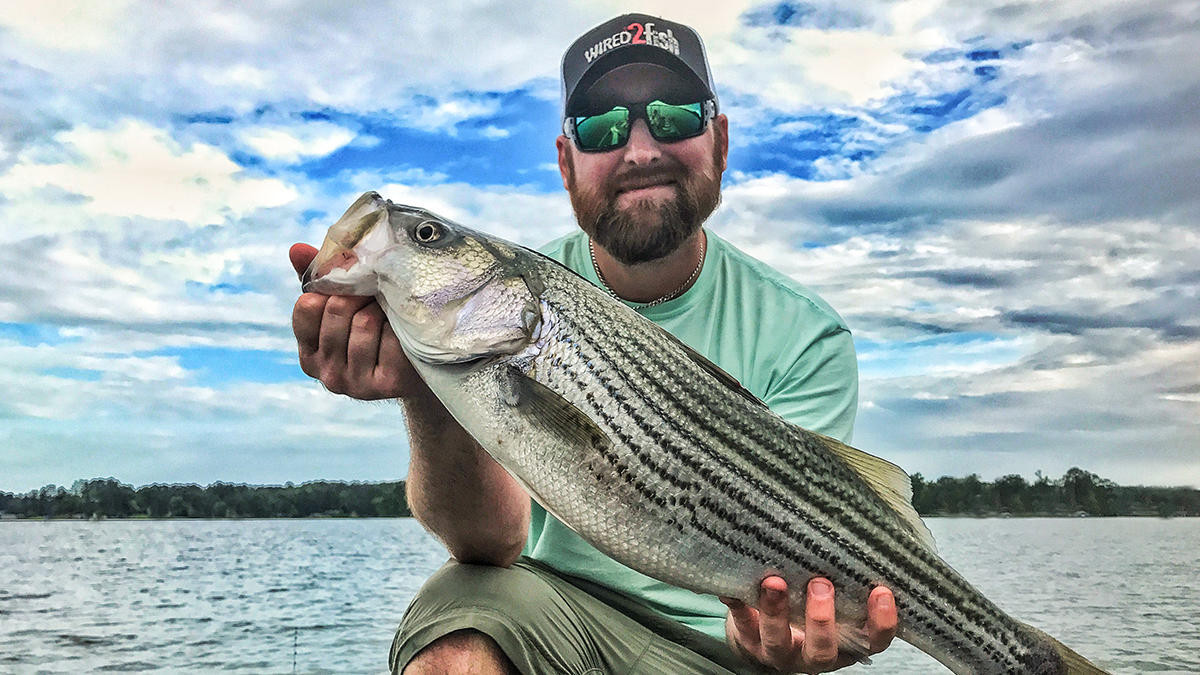
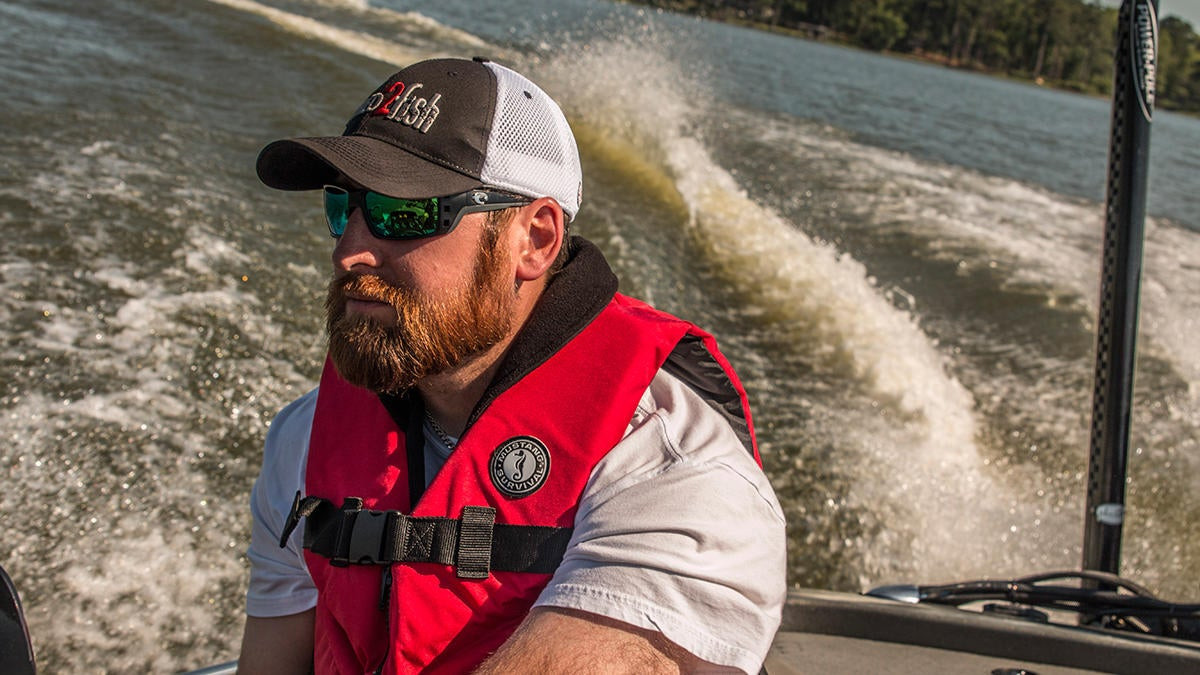
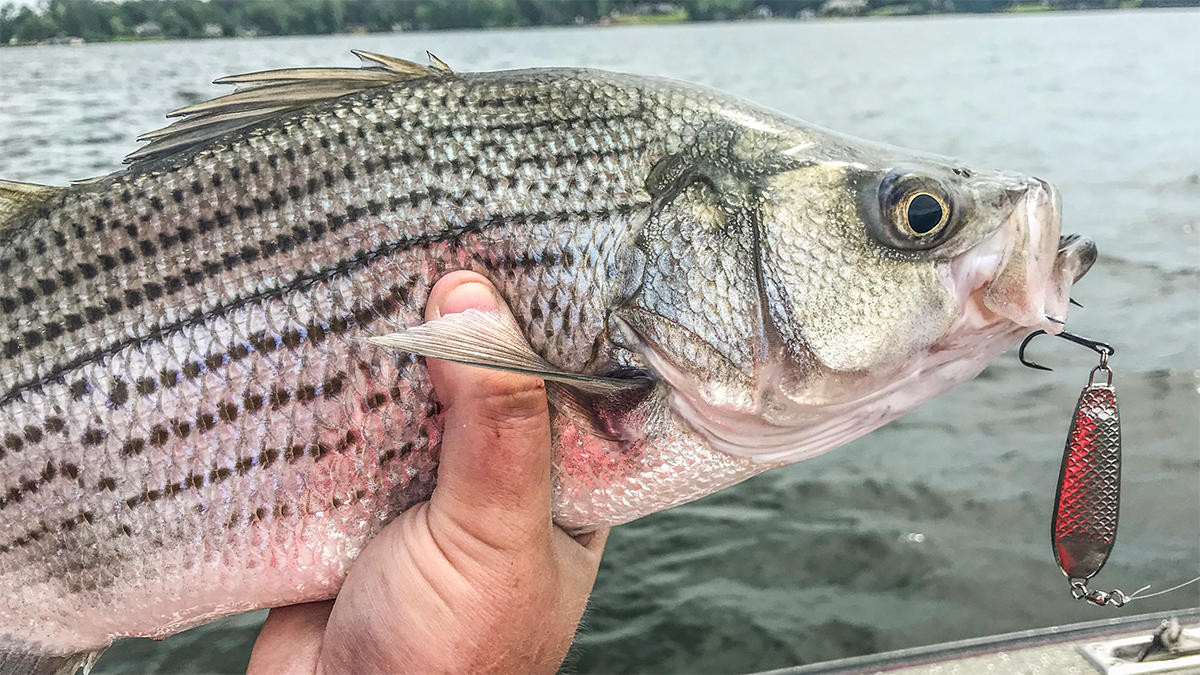
This is exactly when I make a major shift in my fishing each year. Sure, I’ll still bass fish in the early mornings and evenings; you can’t take that out of my blood. But in the heat of the day when the bass slow down, you can find me floating somewhere in the middle of the lake targeting big striped bass and hybrid bass—we call ’em “linesides” in my neck of the woods.
I know it’s not bass fishing, but hear me out on this one. Not only are you going to have an absolute blast, but I guarantee this lineside fishing will make you a much better bass angler in the long run. Hang with me and I’ll explain exactly how to get started.
I’m a bass angler. Why in the world would I target stripers?
As I briefly touched on earlier, it’s important to understand what happens to hot-weather largemouth bass. The increase in water temperature makes them incredibly lethargic, just like they make humans. Think about it: When it’s 100 degrees outside, would you rather walk to the corner store to grab a sandwich for lunch or have one delivered to you? I’m willing to bet you’d choose the latter.
Bass act the exact same way right now. They’re not going to aggressively chase your bait in order to attack it. Instead, they’re going to sit their fat butts in the thickest cover they can find and just wait for the food to come to them. For the angler, that means we have to pretty much hit them square in the nose with our baits. Their strike zones-the distance they’ll willingly travel to attack prey-are becoming smaller by the day.
Linesides, on the other hand, are some bad dudes this time of year. Now, I’m not saying I’m “the” striped bass expert here. But for whatever reason, it seems like the hotter it gets during the summer, the meaner and stupider they get. Not only do these summer linesides give us an opportunity to get our fill of hard-fighting game fish, but they’re also an awesome way to get other folks hooked on fishing. You can take your spouse, kids, neighbor, neighbor’s kids, second cousin, mother-in-law-whoever you know that isn’t a big-time angler-and they’ll have a mile-long smile plastered across their face while they’re fighting these big fish. I guarantee they’ll be grinning like a mule eating briars.
So sure, they’re fun to catch. I think I’ve hit on that point enough. But perhaps most importantly, I truly believe this type of fishing will make you much more comfortable using your electronics. Before I started learning how to target these linesides, I’d be totally spun out trying to bass fish in more than 12 feet of water. I’m a born-and-raised shallow angler and deep water always intimidated me. But man, after spending the past several summers fishing and guiding for these big linesides, I feel totally comfortable in 30 feet of water.
Is it because I’m the world’s all-time greatest electronics guru now? Absolutely not. I’m very far from it. But these linesides mark really well on your units, so it teaches you how to find offshore fish and effectively position your boat to catch them. It’s all about confidence when you’re fishing deep water and if you try this over the summer, it will make a lot of things “click” for you that you can definitely carry over into your bass fishing. There’s no doubt in my mind that it has made me a more well-rounded angler and it will do the same for you, too.
Where to start the search
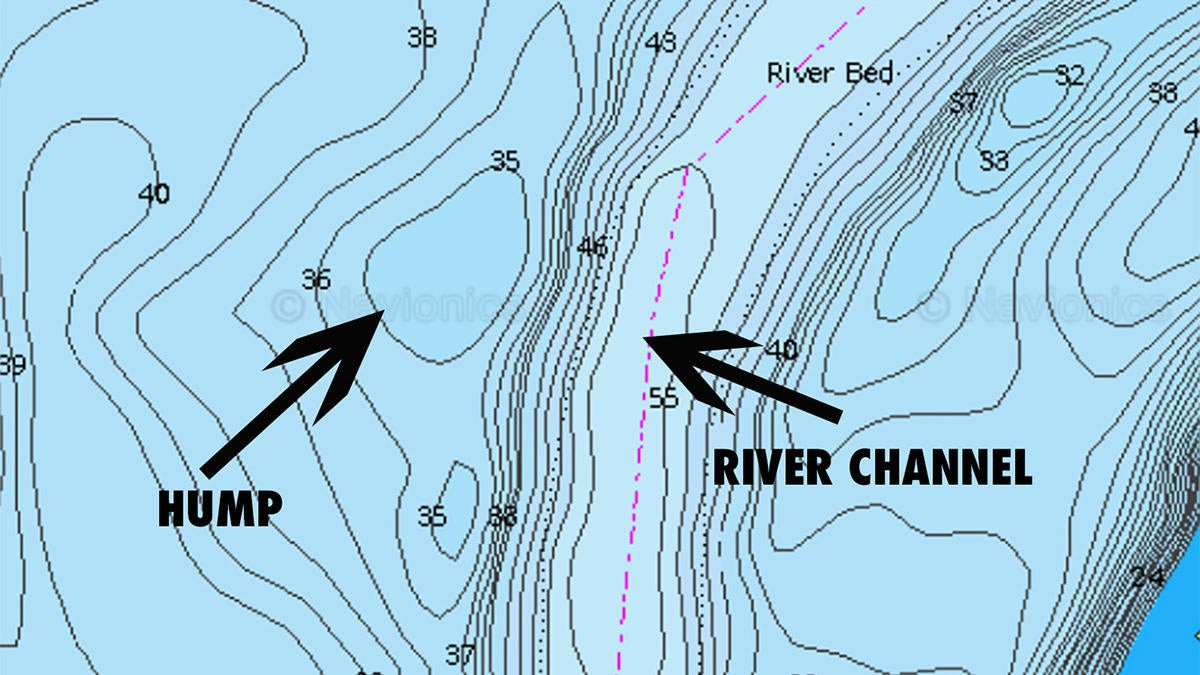
You can probably find linesides in all kinds of different places right now, but I’ve been keeping it remarkably simple and enjoying solid results. Spend some time looking at the maps for your local lake and find as many offshore humps as you possibly can. They’re going to look somewhat similar to the screenshot above this paragraph. They don’t have to be identical because every fishery is different, but you get my drift.
I tend to have the best luck when the tops of the humps are in 25 to 30 feet of water. This can certainly change depending on your geographic location and water clarity, but this particular depth range is a solid starting point. If you can find one of these humps adjacent to a creek or river channel, it’s even better because it can act like a rest stop on a highway. As these pelagic linesides travel using these deeper channels, they can pull off the proverbial highway and feed on these humps before moving on.
Once you identify several different humps, be prepared to stare at your graphs for a good while. I wish I could come up with some magic solution to avoid all of this screen time, but I can’t. It’s going to take time behind the wheel to find the motherlode but it’s important to remember that it will teach you a bunch about your electronics. Whatever you do, be patient when you start learning this pattern. I promise it will pay off in the end.
What in the world am I looking for on my screen?
That’s was my first question when one of my buddies, Billy Benedetti, introduced me to this pattern and technique years ago. I went with him in his boat a time or two and it seemed easy enough, but once I got by myself in my own boat it was a little overwhelming. I’d spend hours dropping on anything that might remotely resemble and fish and before I knew it, I had wasted the whole dang afternoon. I’d call Billy and ask him what I was doing wrong and his advice was simple.
“You’ll know when you find ’em,” he said. “There will be absolutely no question in your mind. Don’t get caught up in chasing single fish.”
That advice actually helped me a lot. Until I saw an essential biomass of fish on my screen, I wasn’t stopping the boat. After a few trips, I learned how right Billy was. So I’ll tell you guys the same exact thing: When you’re graphing these humps, you’ll no when you find ’em. There will be absolutely no doubt in your mind.
What works best for me is zigzagging over the top of each hump. Some days they’ll be on the steeper side of the hump and others they’ll be on the more gradually sloping side. It changes every day and sometimes even every hour, so this zigzag pattern allows me to check the entire hump efficiently.
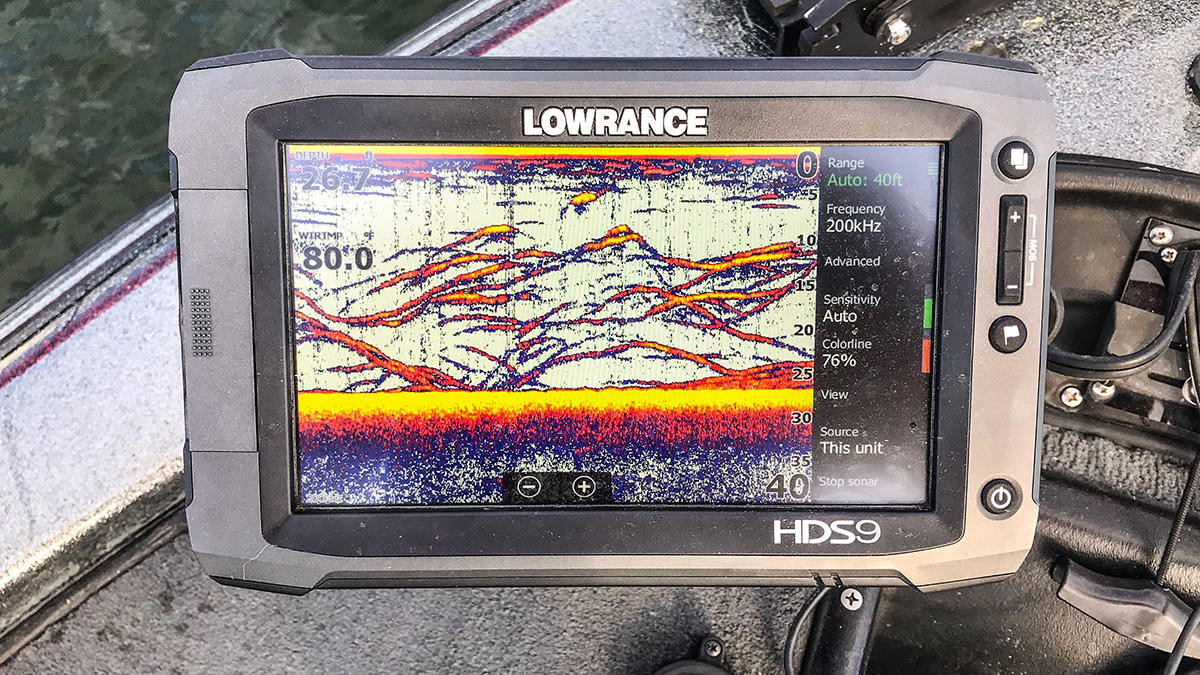
When you run across a school of fish on these humps, it’s going to look like spaghetti on your screen. Again, there won’t be a doubt in your mind. You’re going to notice large, streaking arches which indicate actively feeding linesides underneath your boat. When you see this, you better put your big boy shoes on. You’re fixing to get your arm broken, but in the best way possible.
So you found ’em. What next?
You’re going to think I’m exaggerating when I say this, but I’d bet you a house payment I’m telling the honest truth. When you run across these pods of linesides, they can be absolutely enormous. It is not uncommon to mark them for up to 60 yards at idle speed. It’s also very common for you graph to start showing a false bottom while you’re on top of them. In other words, your boat is sitting in 30 feet of water but your graph will read 8 feet. That’s because the other 22 feet of the water column is slap-full of a biomass of stripers and hybrids.
When you first start seeing the “spaghetti” on your screen, go ahead and grab your marker buoy and have it untangled and ready, but don’t toss it just yet. Continue idling in the same direction and the second the activity disappears on your screen, toss your buoy over your shoulder. I throw mine over my right shoulder because my transducer is mounted on the starboard side of my hull. This gives me a visual landmark of exactly where the school is located. I’m sure some of you can do this with a simple waypoint, but I’m a visual guy when it comes to this. I just prefer marker buoys.
After I chuck that buoy behind me, I’ll put my boat downwind or down-current of the buoy. This helps me control my boat easier and make a more accurate vertical presentation with my spoon. With my trolling motor deployed, I’ll creep towards the buoy and keep my eyes glued to my bow-mounted electronics because it’s only a matter of time before the spaghetti shows up.
Once the mayhem breaks loose on my screen, I drop my spoon. I will not make a drop until my graphs start showing activity. This is important, because you can go down the rabbit hole and waste a bunch of time by losing patience and chasing singles.
You only need two lures for this. And they’re cheap.
I know we’re probably all tackle junkies, and we have a whole article dedicated to the best striper lures, but please listen to me when I say this: You don’t need to go spend a bunch of money on tackle to make this work. Don’t go spend hundreds of dollars. I’ll provide some links to what you need, but the color and size selection does not need to be overcomplicated. You’ve already done the hard part by finding them. Making them bite is normally the easy (and fun) part.
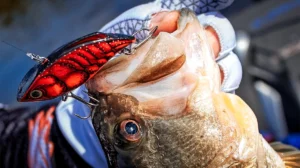
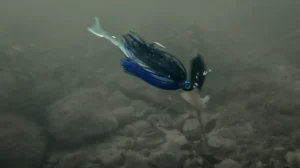
All I use is a 7/8-ounce jigging spoon and a 3/4-ounce blade bait. For the jigging spoon, I really like the War Eagle Jiggin’ Spoon and for the blade bait, I prefer the Steelshad. When you’re buying both of these lures, get a chrome one for sunny days and a white one for cloudy days.
I also want to urge the importance of using quality lures for this. This is not some lousy sales pitch or anything like that. Simply put, however, these big stripers and hybrids will tear cheap gear to shreds. If you don’t believe me, go try to land a double-digit striper with a bargain-bin spoon or blade bade. Either the hooks or the split rings will break. You have to use something with a little meat to it.
Regardless of which of the two lures you use, you’re going to be dropping them both vertically and fishing them the same way. With a medium-heavy casting rod and 17-pound fluorocarbon, let it drop all the way to the bottom (if it can make it there before a fish inhales it). Once it’s on the bottom, lift or pop your rod tip about 12 to 16 inches and let the lure fall back to the bottom on completely slack line.
The large majority of your bites are going to happen as the lure is falling, so it’s imperative to become a line watcher when you’re doing this. You’ll pop the lure off the bottom and you’ll notice it didn’t fall quite as far as it did the last time. Or it won’t fall at all. Sometimes you might even feel a slight “tick” on the fall.
When this happens, you have a fish. Don’t second-guess yourself and get into a feeling contest with the fish. Hooksets don’t cost a thing, so rip that rod tip upwards and set the hook as soon as you can. You’ll know if you connected because if you did, it’s going to feel like you’re tethered to the hind end of a dump truck.
When I bass fish, I normally keep the drag tightened all the way down and use my thumb bar and thumb as a manual drag system. I’ll be the first one to strongly advise against this when you’re chasing these linesides. You’ll either break your line or your reel. Keep a steady drag setting on you reel, but make sure to let ’em run for as long as they need to. You’re not going to bulldog these fish to the boat; I can promise you that. So just enjoy the fight and keep constant pressure on them. It can take upwards of 10 minutes to land these fish on medium-heavy bass tackle, so settle in and be patient. The real fun starts when everyone in the boat is hooked up at the same time!
As it keeps getting hotter outside and the bass fishing continues to slow, make a concerted effort to mix things up and chase some linesides. Not only do they offer a fun way to spend time with your family and friends, but they’ll also make you a much more confident deep-water bass angler. They don’t taste too shabby, either!


