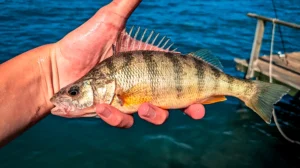
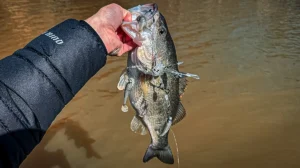
I’ve fished with a lot of various swimbaits for bass fishing, and one of the bigger pet peeves I have is usually the ones I find that I really like, tear up quicker when you start catching fish. A big fish is hard on a swimbait. Sometimes a white bass can be even harder on them. But I’ve found a lot of ways to save and salvage soft plastic swimbaits that I thought could help other anglers.
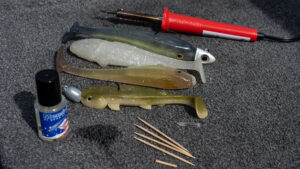
You just need a handful of repair items to keep your swimbaits catching fish. The couple of things I keep in my boat are toothpicks and rattles. And, then on my workbench, I keep a cheap soldering iron and a bottle of Mend-It fishing glue.
Prevent tears if possible
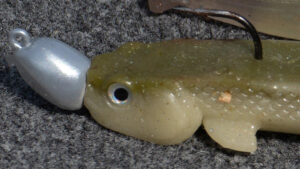
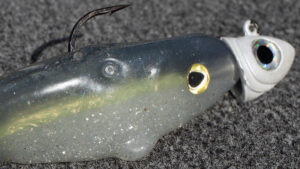
I made a video about matching swimbaits to various jigheads and experimenting with different styles. In doing that you will find some confidence combinations of swimbait heads and soft paddle tail swimbaits that really catch fish. However some of the best heads with good keepers actually do the most damage to the swimbaits when a fish start thrashing around at the boat or when landed.
As the bait gets slung back and forth the keepers on most swimbait heads turn into Ginsu knives, slicing the bait up from the inside out. Then you are left with tears that keep the bait from staying on the hook or even running right.
One way to prevent that is with the toothpick trick. Basically you insert a piece of toothpick through the back of a swimbait just in front of where the hook comes out of the back of the swimbait. This keeps the hook from pushing up through the back of the swimbait and tearing out.
Jake Lawrence recently won the Costa FLW Series event on Kentucky Lake and shared one example of how he used the toothpick trick to keep from going through so many Tremor Shads on Tremor Heads during the event.
I actually switched from a toothpick to a plastic rattle some time ago. I will get a bunch of those pointy plastic worm rattles and use them as my hook blocker in the back of the swimbait. Just push it across perpendicularly to the hook bend, and then you not only have a hook keeper, but you also have just a slight bit of sound in your swimbait, which has been one of my tricks on swimbaits out deep.
Glue first
When I do start getting tears in my swimbaits, I will pull them off and throw them in a compartment to take back to the workbench later for repair. Once there I will try gluing and welding the plastic back together. I usually start with some Mend-It Softbait Glue.
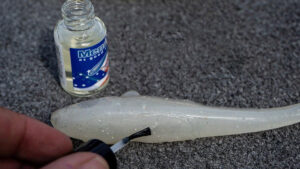
Mend-It is actually not a glue but a chemical that causes the plastic to remelt and bond with itself. For a lot of splits this can work wonders.
Usually I will brush some Mend-It into the tear, and then gently press the plastic together and hold it in place as straight and seamlessly as possible for about 60 seconds. Then I will set that swimbait aside and work on another.
Remelt larger tears
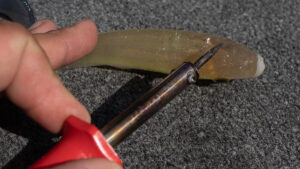
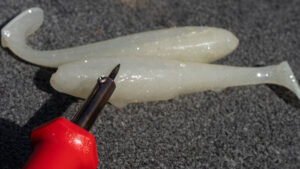
Some of the big tears or chunks in a swimbait, I will actually melt the plastic with a cheap soldering iron I picked up at a craft store for a few bucks. I will heat the iron up and then quickly rub it across and down the splits trying to use plastic from around the tear to help seal the tear back up. It works good on the nose sections too that can become wallowed out from larger swimbait jigheads.
Combination repairs
Sometimes you have to do all sorts of combinations. I sometimes will put some Mend it in a tear and let it sit, then come back and melt across the top and side of the tear. Then jam a toothpick or rattle in while the plastic is hot and even seal it in place sometimes.
Not every tear can be salvaged, but I’ve made some of my favorite swimbaits last a lot longer with just a little TLC and few bucks in supplies.
Editors Note: Swimbaits shown above are the Lunkerhunt Fetch and Scottsboro Tackle Company Swimbait.


