The off-season is here, cold temperatures and frozen lakes are staring us in the face. For many bass anglers, the next few months will be hard to fill. But there’s one timeless pursuit that kills time in the off-season, helps you prep for next season, and saves you some money in the process: pouring and making your own jigs.
BASS Elite Series Pro, Caleb Kuphall has been pouring his jigs for more than 20 years. This practice of his has benefited me personally since I’ve used some of his homemade flipping jigs on more than one occasion.
The time and effort an angler puts in when making their own jigs becomes something very rewarding the first time they catch a bass on one. However, starting the hobby from scratch can be a little intimidating for some people.

“Don’t let it scare you,” Kuphall said. “It’s not rocket science, it’s very easy to do and it is an affordable activity that any angler can start in on.”
In the end, a homemade jig allows the angler the ability to create their very own fishing lure from scratch, giving them the ability to add their own personal touch to that jig, which many times gives that angler the confidence that they are showing a bass a lure that they have never seen before.
What You Need to Get Started
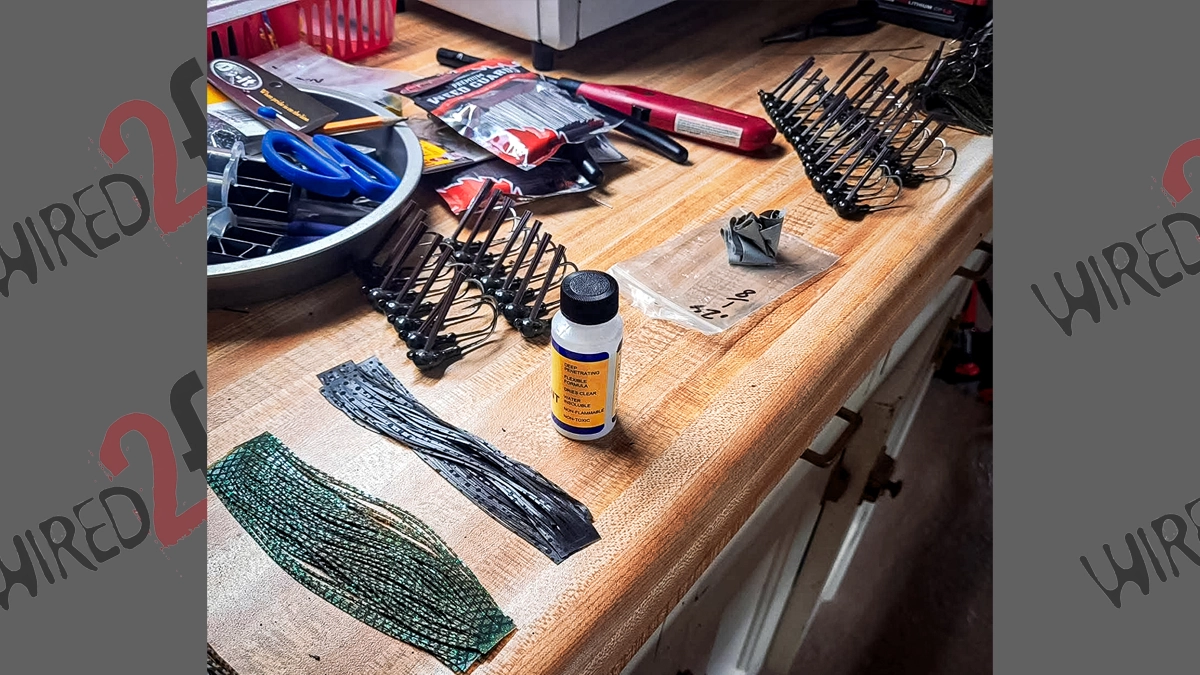
If you are looking to take a stab at pouring jigs this winter, here is a list of the items you’ll need:
- Lead melting pot
- Lead
- Hook of choice for your jig, based on the jig mold’s hook style and size recommendation
- Do-It Molds
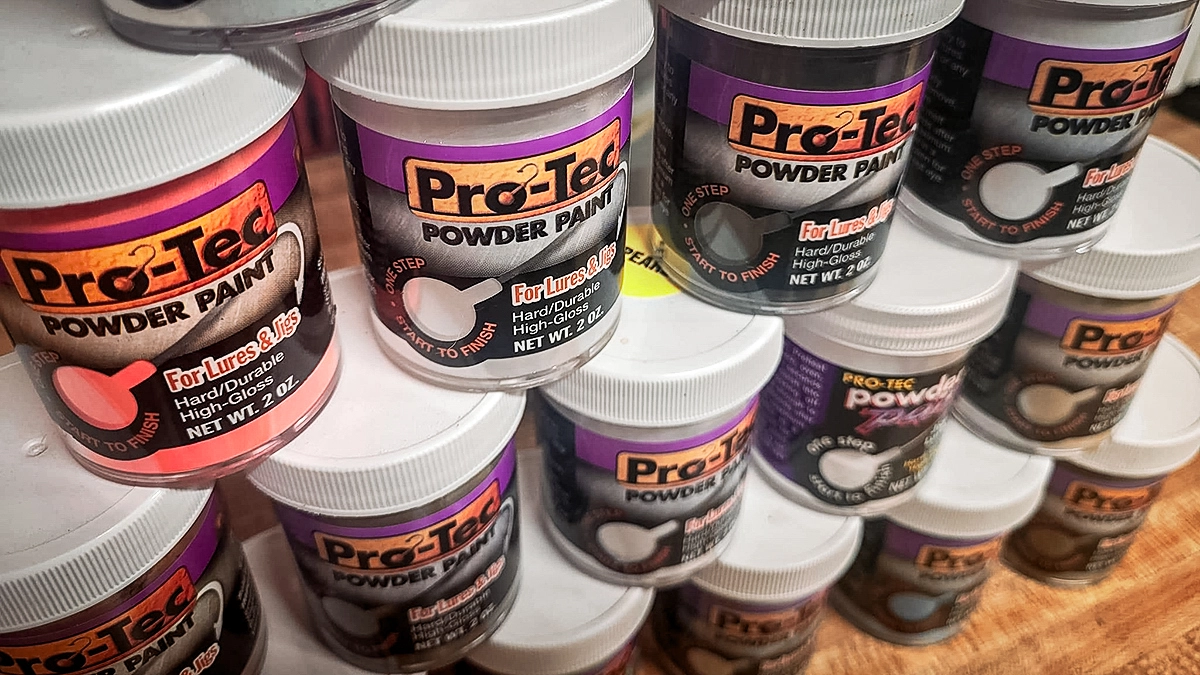
- Pro-Tec Powder Paint
- Oven for curing paint (you can use a household oven, but a small toaster oven works great)
- Fiber weed guards
- 5-minute clear epoxy
- Vise
- Skirt material
- Thread and bobbin holder or rubber skirt bands. Or you can make your own skirt.
Safety Gear and a Ventilated Space
As always, safety is crucial — always use the proper safety equipment when pouring jigs. You need a good pair of heat-resistant gloves and eye protection when pouring lead and always do so in a well-ventilated area. This is not an option.
“Don’t pour lead in an enclosed space, do it in a garage, or open-aired room with a fan blowing away the fumes,” Kuphall said.
Getting Started
As you are eyeing up a frozen lake, or that snow-covered driveway, and are looking for something to do that is inside, and want to keep your mind on fishing, grab some lead, and hooks, and get the correct tools and you can start making your own masterfully crafted jig for next fishing season.
Once you have all the equipment and supplies listed above, you can give Kuphall’s process a try and then adapt it however you like.
Kuphall’s Step-by-Step Jig-Making Process
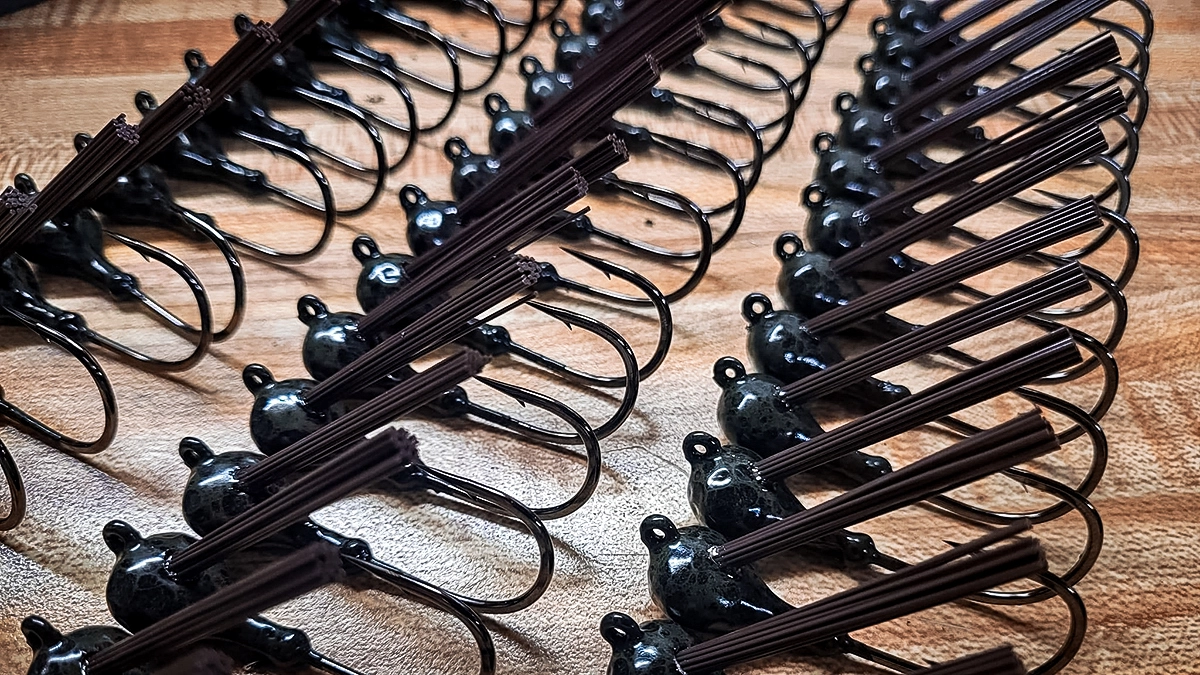
Kuphall’s go-to jig when fishing across the country on the Elite Series — and the jig he makes the most of during the off-season — is the Do-it Mold Sparky Jig. “It’s a very versatile jig that I can skip docks with, fish it around timber, and it goes through weeds well,” he said.
The Sparky Jig can be poured in four sizes: 1/4-, 3/8-, 1/2-, and 5/8-ounce. You can also select the hook size that’s right for you from 3/0 to 5/0. Kuphall has played around with numerous hook brands and styles and finally settled on the Gamakatsu 294 in a 4/0 size for his Sparky Jigs.
Here’s how to make the Sparky Jig just like Kuphall does:
1. Heat and Pour
Put the lead in the melting pot and get it heated up. Once it’s up to temp, pour the lead into the mold.
2. Deburr
After a few seconds the lead will be settled. Remove the jig from the mold and trim the jig down by cleaning any burs off it.
3. Apply Powder Paint
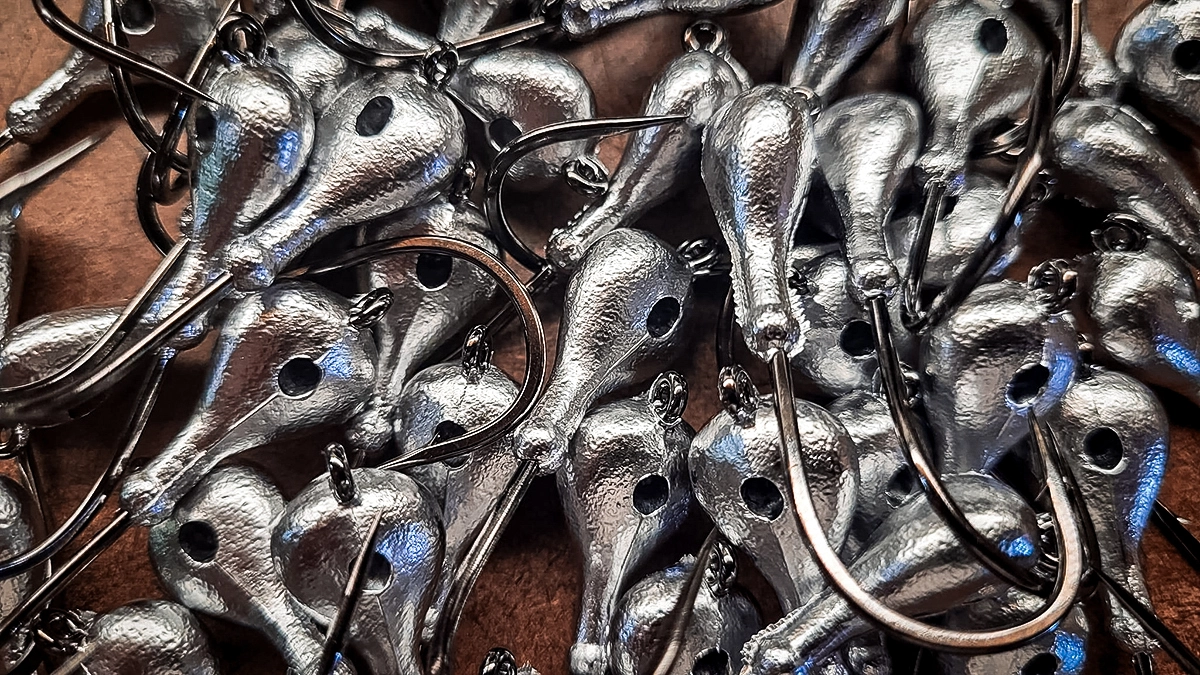
The lead jig is now ready for painting. But first, they go into a 350-degree oven for 5 minutes. Remove the jigs and dip them in the powder paint — Kuphall keeps his in small plastic bowls.
4. Heat
Once they’ve been dipped, place them back in the oven for about a minute. Once the paint starts to drip and fill the hook eye, pull the jigs from the oven and run a wire through the eye to clean the paint out.
5. Cure
Then, the jigs go back in the oven one more time for 15 minutes. The paint will then be cured and the jigs are good to go.
6. Add Weed Guard
Up next, you have to add the weed guard, but first, the hole for the weed guard will need to be cleaned out, which can be easily done with a 1/8-inch drill bit.
Once the hole is cleaned out, insert your desired weed guard, and affix it with some five-minute epoxy.
7. Add Skirt
Put the jig in the vice, and start with the top. If you start with the bottom, it will prevent the skirt from flaring out. Kuphall uses 60 skirt strands on the top, and 40 strands on the bottom.
8. Secure Skirt and Trim
To wrap things up, tie six overhand knots to secure the skirt with thread, dab some fly-tying cement on the thread, and let it dry. Then, trim the skirt and weed guard to your liking.
How To Make Jigs: Learn Your Oven
One of the most important things Kuphall says he learned from making his own jigs is that you need to learn your oven so the painting process goes smoothly. Each oven and environment in which a jig is being made is different, so 350 degrees on one oven may not be hot enough, or in another oven at another altitude with different humidity could be way too hot.
“If it’s not the right temperature the paint will not coat your jigs evenly, or it will drip off of the jig,” he says.
With the new styles of powder coat paints, it’s a straightforward process and many homemade jig makers don’t even use a torch anymore, which used to be standard practice.
“I’ll heat the unpainted jig in my oven at 350 degrees for five minutes, and then dip the head in the paint,” Kuphall says. “This gets me a consistent paint job across the whole jig most of the time.”
However, if you are having a tough time getting the powder to adhere to your jighead, you can use a blow torch to warm up the jig and then dip it into the powder paint, shake off the excess, and then heat it again to cure the paint. This process is more time-consuming than using an oven to achieve the same result.
Skirt Tying
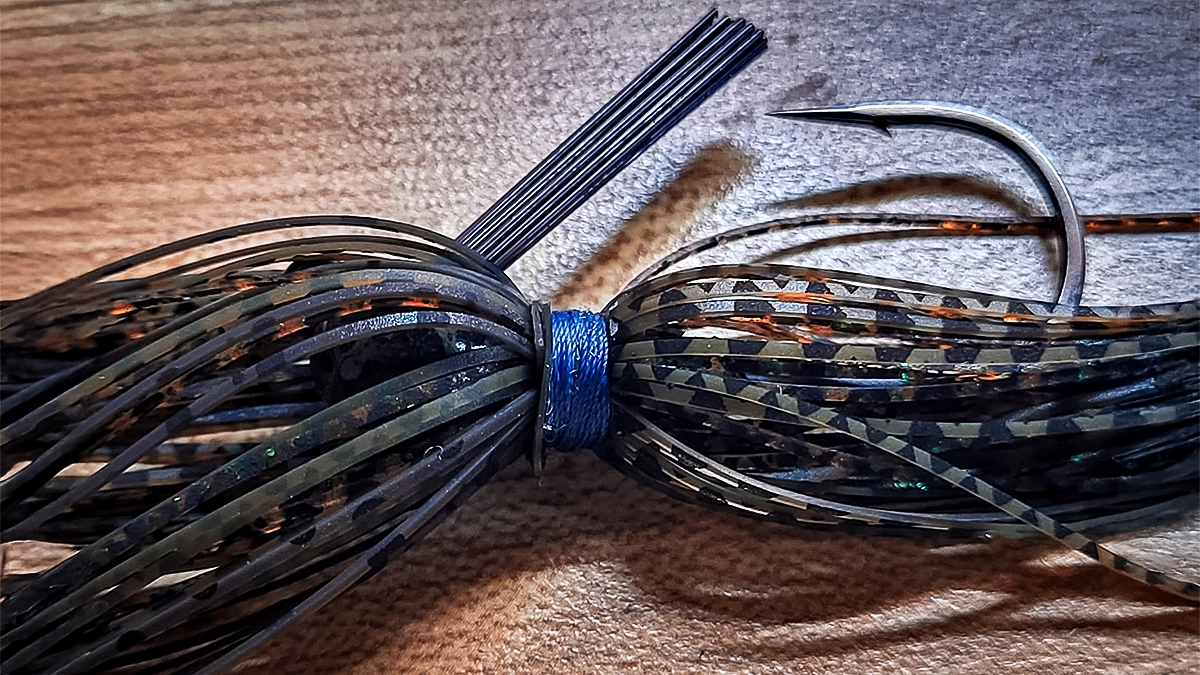
When it comes time to make that custom-poured jig of yours look pretty with the skirt, Kuphall is very adamant that tying your skirts is a must.
“Don’t go with the cheap collared premade skirts,” he says. “You’ll get more action in the water from your jig with a hand-tied skirt.”
There are many different types of skirt materials and designs for custom jig makers to choose from.
“Take your time, find a few colors and styles you like, and then practice tying jigs with them. If you get comfortable with tying a certain style of skirt material, it will make it a very easy process for you,” Kuphall advises.
He says you don’t need to spend a lot of money on the thread to tie your skirts and that sewing thread from Walmart works just fine.
One of the reasons Kuphall first got into making his jigs is that he wanted a certain skirt on his jig that wasn’t available from a manufacturer. “By making your jig, the sky is the limit as to what you can create, and you can dial in your color selection for that jig on the body of water you are fishing,” he says.
By also having a full skirt on the jig to start, you can play around with how much material you want to trim when it’s done. You can leave it full to get a real full-bodied profile of the jig or trim it down to have it easily skip under a dock.


