I overheard a conversation that piqued my interest a few weeks back. Two gentlemen were discussing a co-worker who had been remedying the blazing hot water temps by live lining shiners. Not only was the angler in question catching plenty of smallmouth bass, but from the enthusiasm of the exchange, some big fish were hitting the net. The issue was that neither of the guys knew of any local tackle shops that had live bait in stock for the weekend.
This round of boat ramp gossip got me concerned that the great angling traditions of picking nightcrawlers and trapping shiners might be going by way of the dodo. Below, I have compiled some insight into the superiority of live bait you get yourself and all the knowledge needed to get your hands on some.
TRAPPING SHINERS: GETTING STARTED
Do you know the difference between a farm-raised baitfish from a bait shop and one caught from the same water you’re fishing? Native bait fish have spent their entire lives in constant fear of the predators around them. When they’re in the sight of a gamefish, their terrified movements are simply irresistible. Not only is wild bait more effective, but trapping your own is free and only requires a bit of basic gear to get started.
SETTING THE TRAP
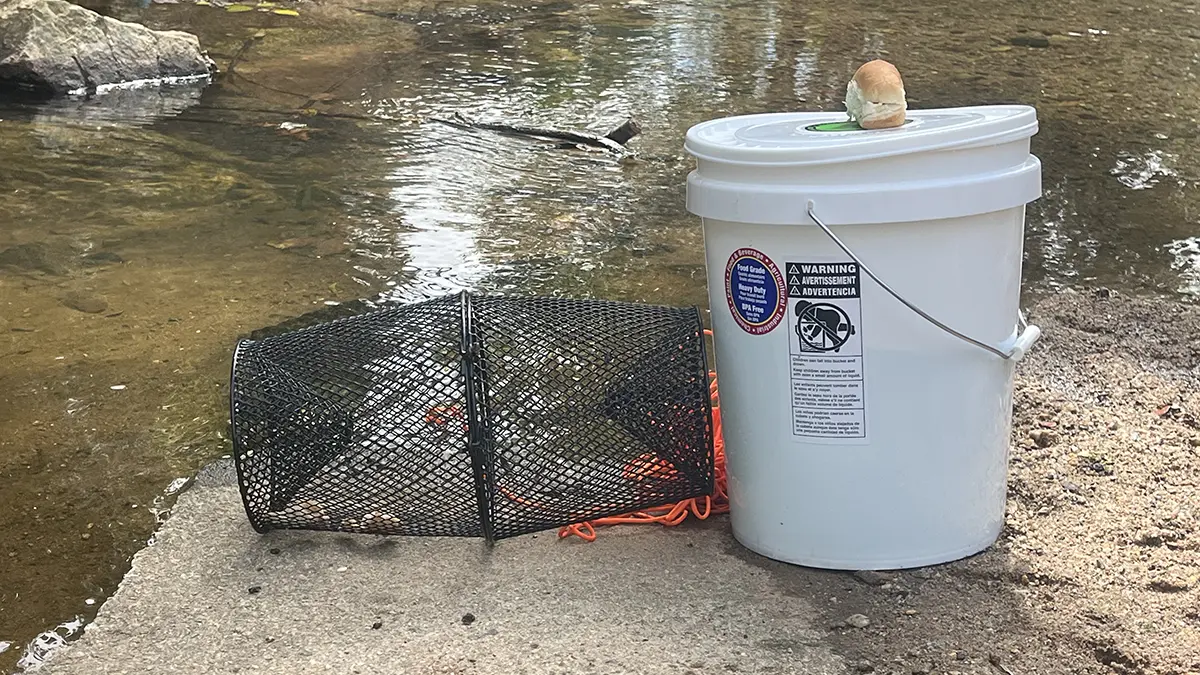
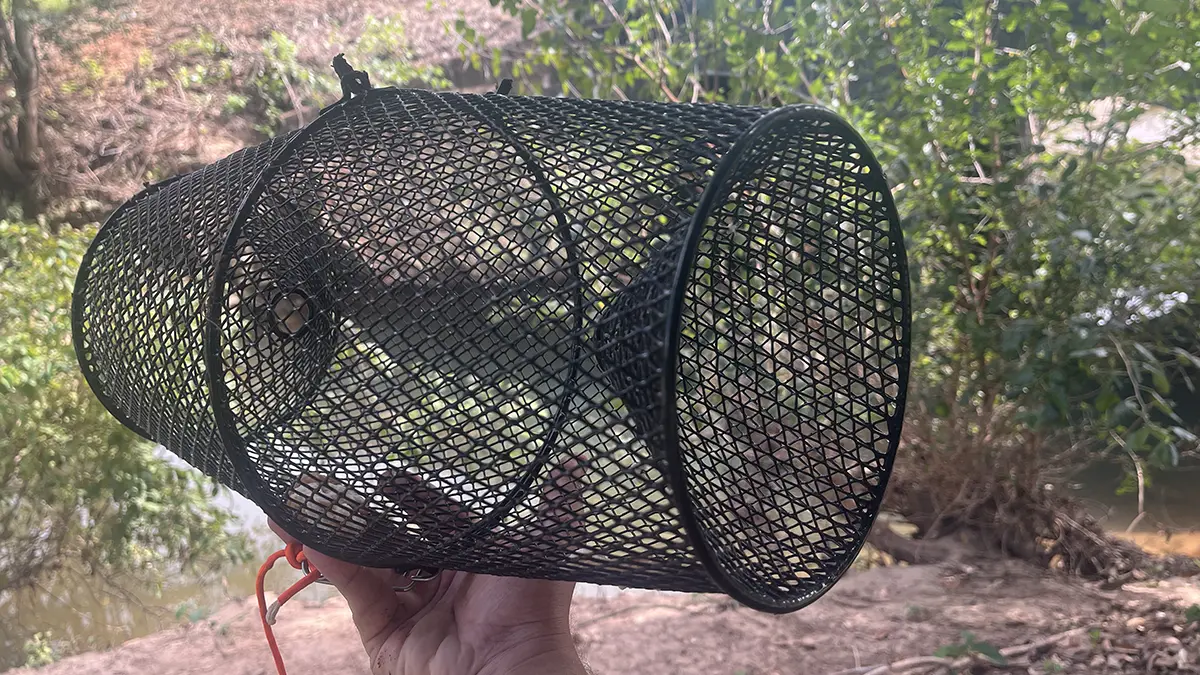
By and large, most baitfish are acquired by soaking a minnow trap such as my personal favorite, the Frabill Torpedo. These devices are incredibly simple, made up of two sections of heavy-duty galvanized steel mesh. Both ends have small entrance holes and are joined via metal tabs that interlock and are secured with a spring clip. Once the bait is inside, the small exit hole and funnel-like design disorients the fish, making escape unlikely. Additionally, the two pieces are easy to store as they fit perfectly into a five-gallon bucket.
Once the trap is acquired, a section of paracord or nylon rope is tied onto the spring clip to make retrieving the trap possible. Of course, shiners don’t just fumble their way into the trap, they must be lured in via bait. My personal favorite happens to be a few balls of bread or deli buns, the cheaper the better as the high sugar levels make the bait stick to the mesh and not just slowly float out of the trap. Additional options include dry dog food.
BY NET
Other effective techniques for gathering bait include using seine nets, like the Douglas Net, which can be operated by two people to scoop up large amounts of bait. In swift, gravel-bottomed streams, a team of three can be even more effective: one person disturbs the rocks upstream while the others stretch the net downstream to catch anything that floats by. For larger bait, micro jigs tipped with a piece of earthworm can also work well.
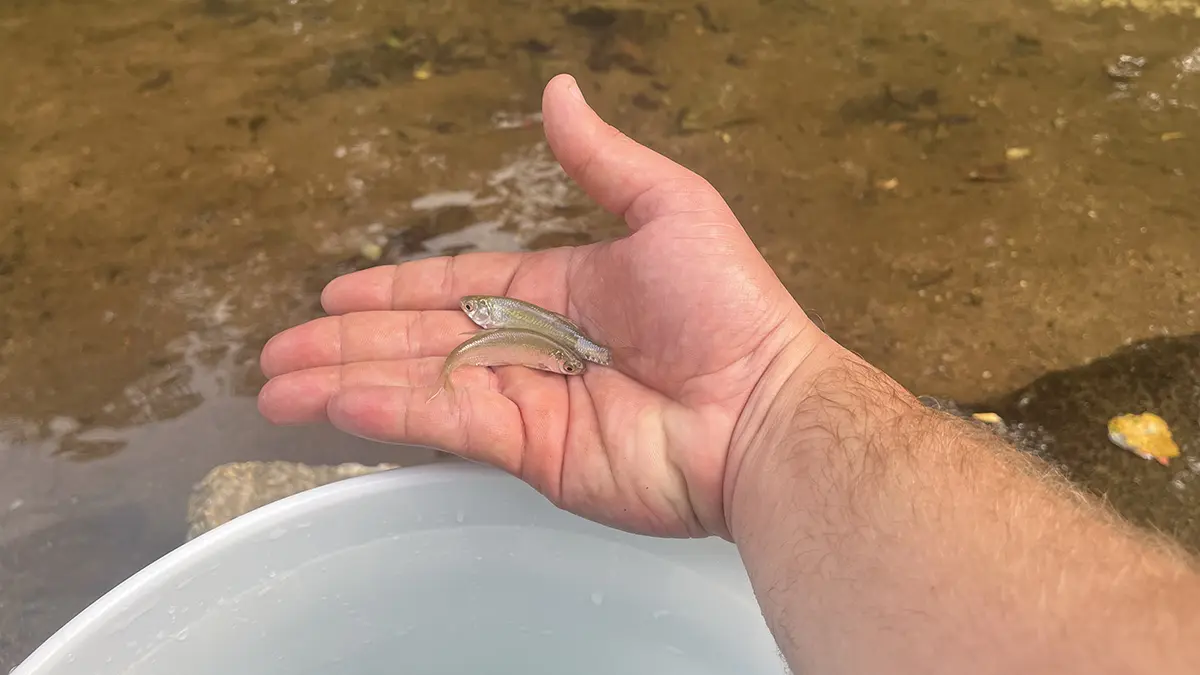
It is important to note that in North America, we are blessed to have a practically never-ending list of documented and undocumented bait species. A few of the most widely distributed include various types of chubs, suckers, shiners, shad, and dace. A truly fascinating part of collecting bait is getting a better idea of all the different types of forage found in your home waters.
LOCATION, LOCATION, LOCATION
I prefer to trap my bait in off-the-beaten-path locations, which often happen to be isolated streams or backwoods ponds. This is because I have unfortunately had many traps tampered with or even stolen when they have been in high-traffic areas. When in ponds, I look for clean bottom zones completely free of trap-clogging weeds or wood cover which could result in a snag of the retrieval line. When in doubt, think of spots you would consider making a cast, gamefish are looking for the same bait you are.
Once you have deemed a spot worthy, it is as simple as slinging the trap into the water and making sure it comes to rest on the bottom. Then, tie the retrieval line to a piece of brush.
When it comes to time in the water, I am a firm believer that an overnight soak is a good starting point. If the trap comes up empty, it is likely time to try a different area or even a body of water. Please consult local regulations as some states require the name and contact info of the trap’s owner to be visibly displayed. They also might have regulations regarding the use of nets.
CARING FOR YOUR BAIT
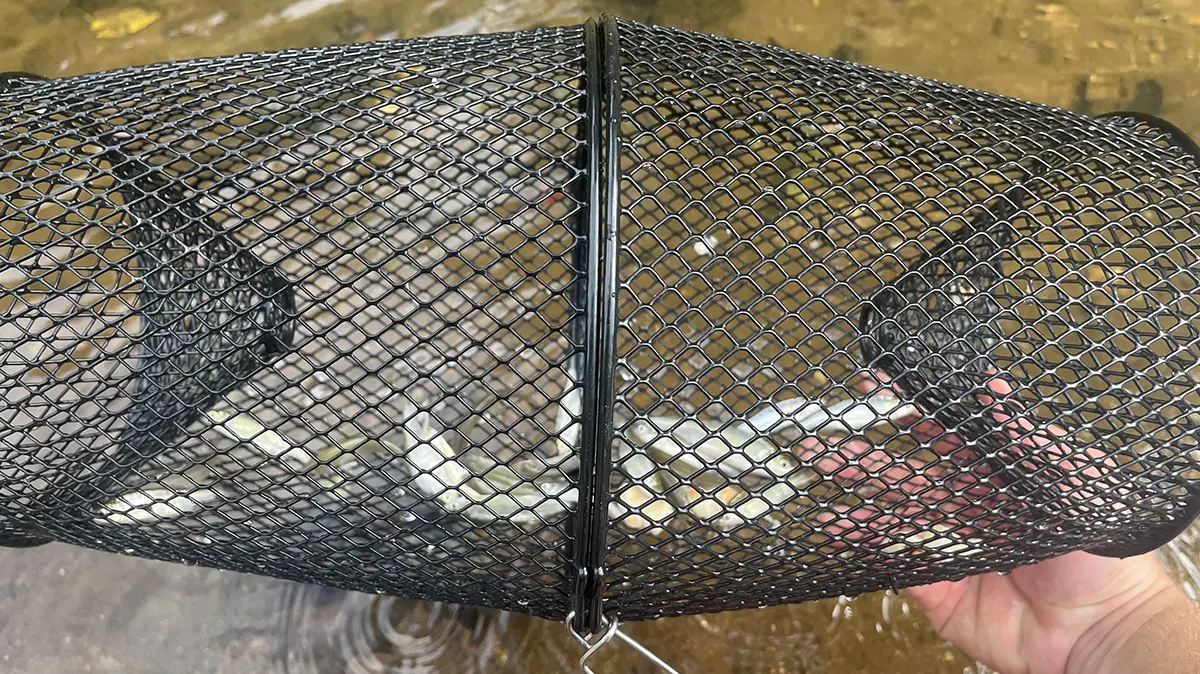
After some experimentation, ideally, you’ll pull up a trap brimming with energetic bait, ready to be transferred quickly into a five-gallon pail or bait bucket for transport. Proper bait care is crucial to prevent good quality bait from perishing. In my opinion, the four commandments of storing live bait for a few days involve ensuring proper oxygen levels, maintaining water quality, regulating water temperature, and minimizing handling.
Keeping baitfish alive requires oxygenated water, and products like the Marine Metal Products Bubble Box make it easy. It clips to a bucket and runs on D-cell alkaline batteries, allowing use anywhere. Maintaining water quality is crucial to avoid harmful sediment or debris. Consistent water temperatures prevent shock and ensure longevity, and minimizing handling reduces stress and fatigue, keeping the bait healthy longer.
PICKING NIGHTCRAWLERS: WHERE AND HOW
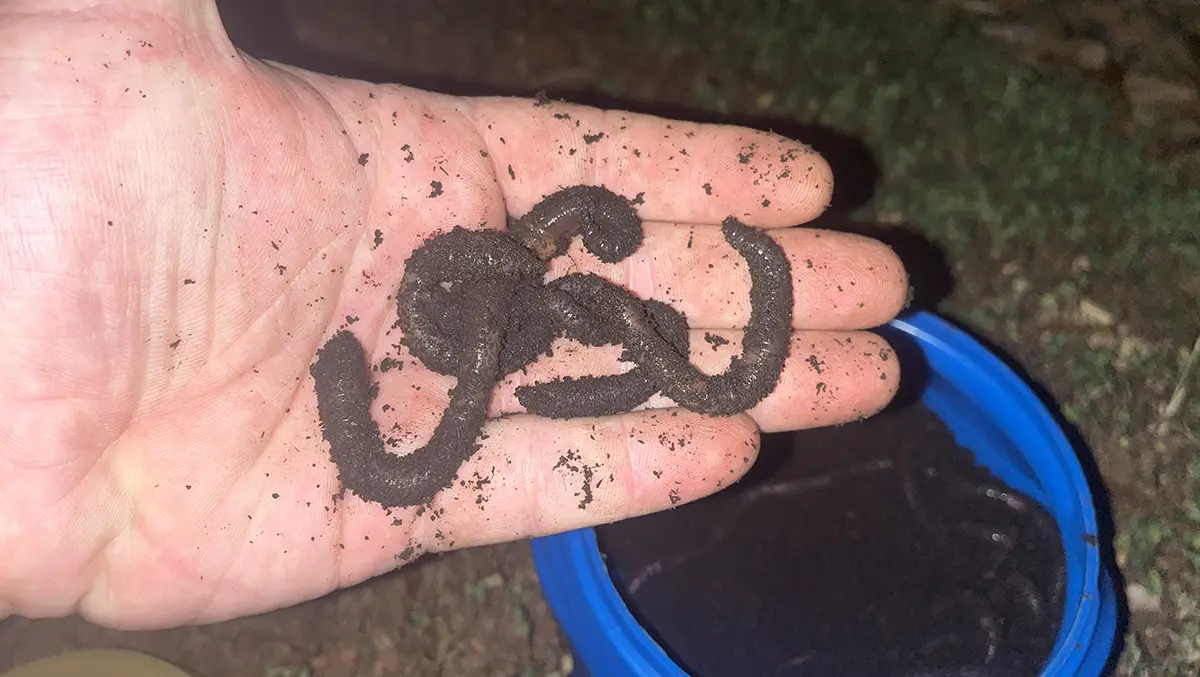
I might be crazy, but few things get me as excited as picking a coffee can full of nightcrawlers during a rainy evening. As a youngster, this activity was a treasured part of the preparation for a big fishing trip and that excitement has not quite worn off.
The advantages are similar to those of trapping your own shiners: the bait is of course free, and wild crawlers cast off a lot more fish-attracting scent than those purchased at a gas station or tackle shop. Additionally, if more folks sourced their worms, I would bet my favorite trout streams would not have as many of those pesky red Canadian Crawler containers littered along the banks.
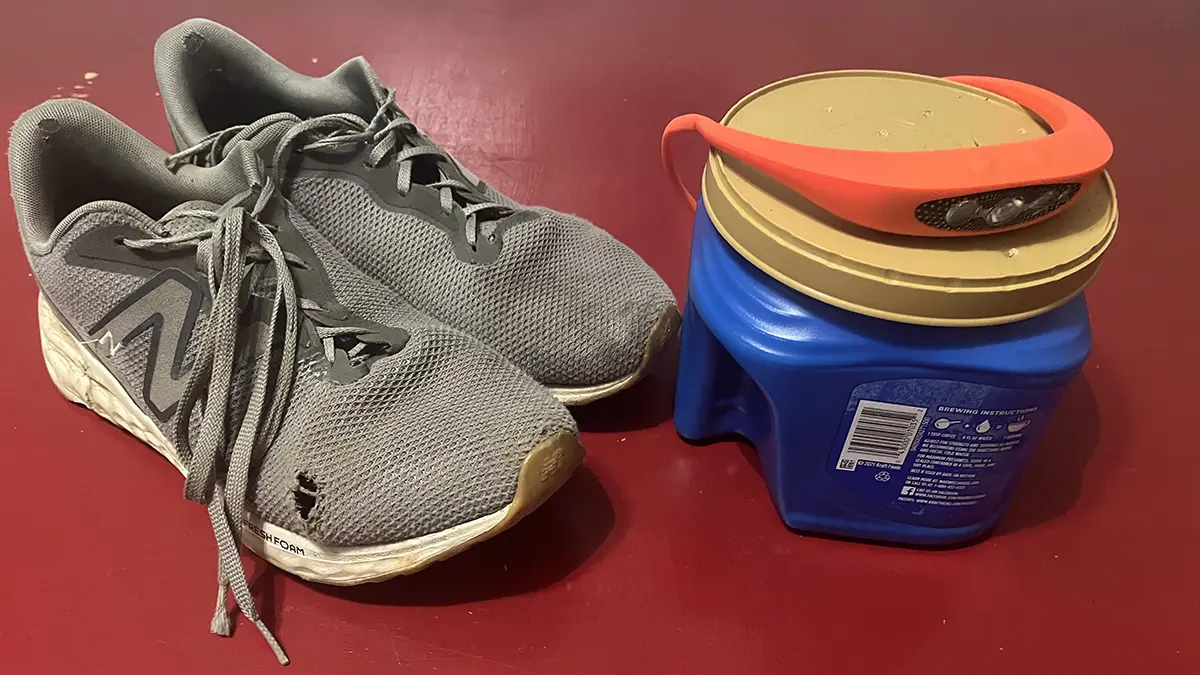
To get started, all you need is a headlamp, a coffee can or other type of container with a breathable lid, and a pair of shoes that do not squeak or put off excess vibrations — more on this later.
TIME AND PLACE
Rainy nights in the spring through the early fall in most climates are the best times to embark on a proper nightcrawler hunt as this is when worms head topside. The reason for the upward migration is still sort of unknown with some speculation citing flooded burrows, lack of oxygen in damp soil, and even mating behavior. Nightcrawlers are extremely sensitive to light and it is rare for them to be out and about during the day.
Most residential lawns or parks likely will have crawlers available, the key is to look for the most lush grass possible. This signifies superior soil health and thus, a booming population of crawlers. If possible, gaining permission to visit a well-maintained golf course after hours will likely produce enough bait in one trip to support a season’s worth of fishing.
TO CATCH A NIGHTCRAWLER
While experts maintain that the modern pentathlon is the ultimate test of athleticism, I would argue that catching a crawler might be a close second. To do so, slowly scan with your headlamp to look for exposed head ends of crawlers peeking out of their burrows. Once located, it is up to you to gingerly get a grip on the crawler before they quickly sling themselves backward into the hole. This might sound simple but be warned, a startled worm can move at lightning speed. Additionally, if you grip them too hard, you run the risk of tearing the specimen in half. Drop the crawler into your container once it has been extracted from the ground and keep moving. Where there is one, there is a ton.
Back to the shoes. The sworn enemy of crawlers is the ground mole as worms make up the bulk of their diet. It just so happens that moles put off a ton of vibration when burrowing and in turn, worms steer clear of even the slightest tremor. This means walking as softly as possible and making little noise is very important.
CARING FOR YOUR WORMS
You can keep worms alive for close to a month if properly stored. I prefer a plastic coffee can with holes generously punched in the lid to allow for good airflow. From there, I mix equal parts spent coffee grounds and topsoil. Add a touch of water as needed to keep things a bit damp. The coffee grounds are vital as worms will use them as a food source. If you plan to keep a lot of worms, changing out the soil mixture every week or so is a great way to prolong their shelf life.
Much to the distaste of many anglers’ spouses and non-fishy family members, the best place to keep crawlers is in the refrigerator. The cool temps keep them semi-dormant and rejuvenated. From experience, the verbal lashing that will be unleashed on you if the worms escape and make their way into the produce drawer is an experience that is impossible to fully recover from. Please keep this in mind when choosing a container. Worms are among the best baits for bluegills, and many other species. Make sure your significant other doesn’t discard them in a fit of rage.
NO TIME LIKE THE PRESENT
Trapping shiners and picking nightcrawlers are time-honored, cost-effective methods for gathering highly effective live bait. These baits can be stored for days or even weeks with proper care, ensuring you have a reliable supply for your next fishing adventure. So next time you’re planning a trip, skip the bait shop and get back to basics with these tried-and-true methods!