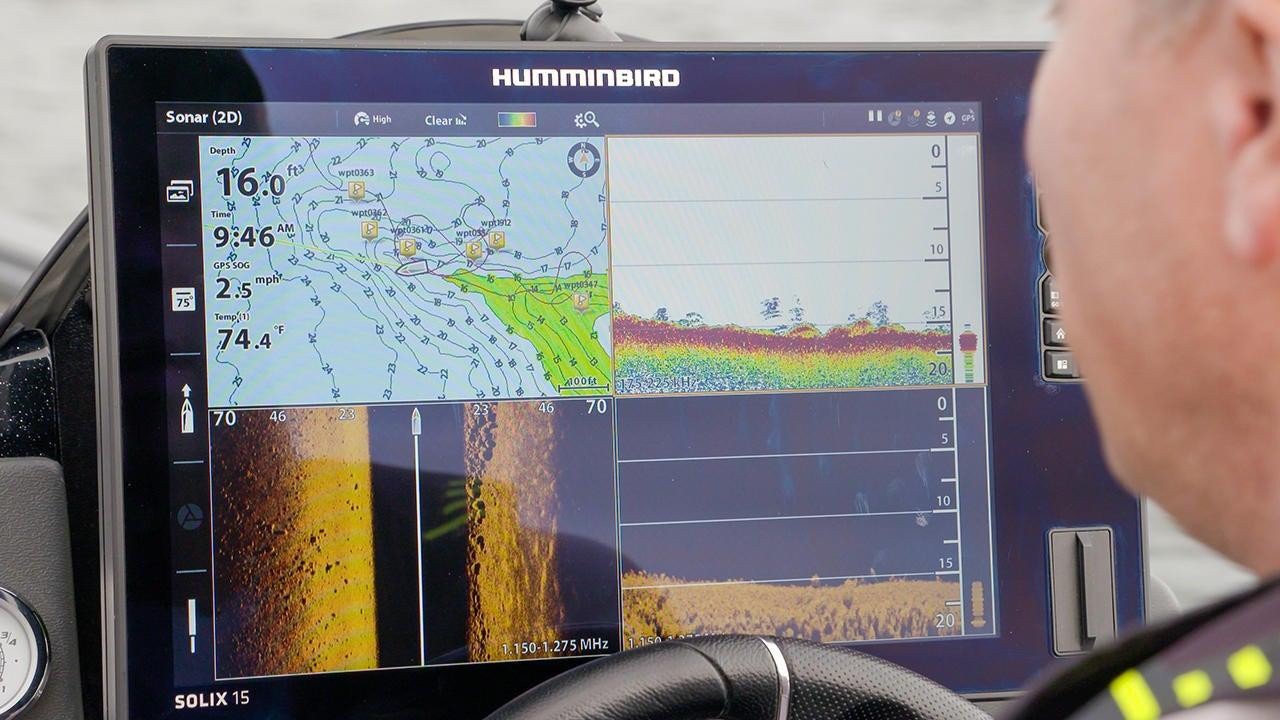
Calibrating your fish finder sonar settings is a lot easier than many have been lead to believe. Some manufacturers have established default settings that perform excellently right out of the box. That said, conditions dictate, and a few basic settings tweaks will help you produce the best readout for the situation. Jeff “Kolo” Kolodzinski shares his top 6 tips for getting the best fish finder readout for the conditions.
FISH FINDER – Humminbird SOLIX 15 CHIRP MEGA SI+ G3
- Mount your transducer correctly. Install transducers in a location that delivers a steady flow of non-turbulent (no bubbles) water. Position transducers them low enough (slightly below the hull) and away from flow disruptors such as strakes and rivets. Additionally, angle transducers in a slightly forward position to produce the best readouts of fish and structure.
- Adjust sensitivity. Sensitivity and contrast go hand in hand. Humminbird fish finders, for example, come pre-configured at “10 and 10,” which simply meads a level 10 setting on a range of 0-20. The 10 halfway setting is optimal in most situations. Still, minor tweaks off of this baseline may be necessary to produce the perfect picture for your eye. For example, you may wish to amplify the sonar signal return in 2D sonar to see fish more clearly. Conversely, the water column may be filled with leaf litter, making it more challenging to distinguish fish. A reduction in sensitivity may be desirable.
- Adjust contrast. Contrast helps to differentiate between objects of different signal strength returns. Similar to sensitivity, a 10 setting is ideal much of the time. Still, small changes either up or down from this baseline may be necessary to differentiate between hard and soft such as soft (e.g., mud) to hard bottom transition or to see fish (harder return) over a soft bottom.
- Adjust range. It’s common practice to start your fishing day at a broad range search, such as 100-feet left and right, to break down water more quickly. When you find areas of interest, reduce your range to reproduce the image on a larger scale — doing so makes it easier to see details such as the size of rocks or count the number of fish.
- Change color palettes. Color is information, yet how we see and perceive color can vary widely. Experiment with a range of color palettes to determine what works best for your eyes. Additionally, Kolo advises using Night Mode at night, which dims the screen brightness and changes white backgrounds to black for easier reading and navigation at night.
- Restore all sonar settings to default. Have you been doing a bunch of sonar setting tweaks but wish to reset to factory settings? No problem. Restore your sonar settings without the risk of losing valuable waypoints or tracks.
Also, see our list of best fish finders on the market


