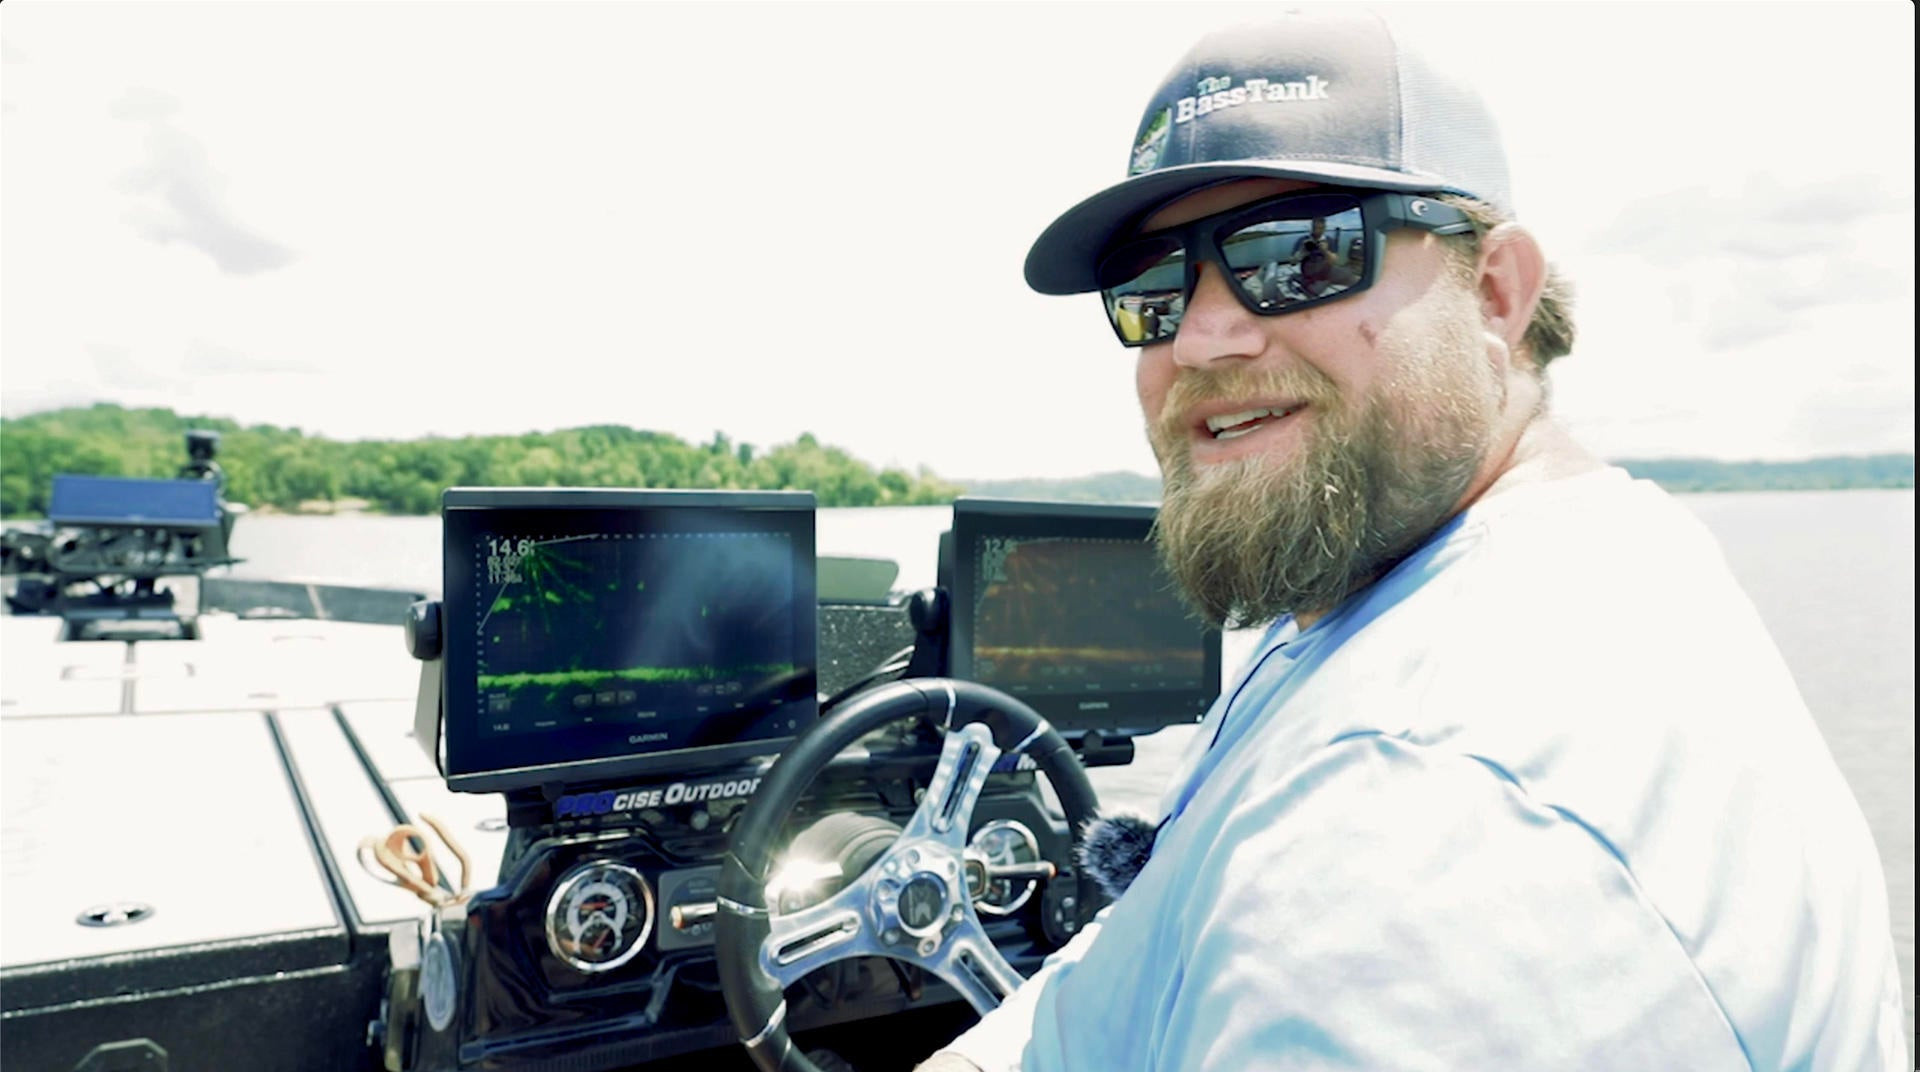
John Soukup has been using Garmin Livescope longer than most. Soukup is also a professional bass and crappie fishing tournament angler.
We asked Soukup to give us a rundown of the 10 best settings for Garmin LiveScope to help anglers get the best looking picture on their units, and be able to see the fish, their lures and the cover in all fishing situations.
Here are the 10 settings and we’ll give you link next to the title to the specific place in the video where he talks about each specific setting.
1. Noise Reject (39 seconds)
Noise reject helps filter the information that is coming into your unit from your LiveScope processor and transducer. When you have it turned off you’ll see a lot of clutter on the screen. You will want a little clutter to filter through because you want to be able to see your line and small jigs on the screen and you need some of the information to pass through. But the Noise Reject setting at high will eliminated a lot of unwanted clutter.
To set it go to your LiveScope screen and choose Menu > Sonar Setup > Noise Reject and choose High.
2. TVG (1 min, 28 secs)
TVG stands for Time Variable Gain. This is filter information top to bottom to let you see further into the water. When you’re in water less than 15 feet deep, you’ll want to set TVG to off as it will filter too much out on the top part of the water column and you could miss some fish up there. Deeper than that and you can start with low.
To set it. Go to your Livescope Screen and choose Menu > Sonar Setup > TVG and choose OFF.
3. Color Gain (2 mins, 6 secs)
Color Gain is a way to set the intensity of just the objects that Livescope will detect. Instead of pumping up the gain and contrast of the whole screen, color gain just pumps up the fish, brush, your lure and other objects in the water. So this is a setting you can turn way up if you’re having a hard time seeing fish or your lure at a distance. Soukup talks about his favorite settings in the video above, but each person needs to find their happy medium for where they fish.
To set it, go to your LiveScope Screen and choose Menu > Sonar Setup > Appearance > Color Gain. It defaults around 50 and Soukup often runs his up to 83 or 84 to really make those returns stand out on the screen.
4. Gain (3 mins, 5 secs)
After you get Noise Reject, TVG and Color Gain adjusted, then you can start tweaking your Gain up and down to see how much clutter you like cleared or showing to make sure you see the cover, the fish and your lure if necessary to make the most precise presentations to the fish. This is truly a user preference and you will find at times you will turn it up and other times you’ll turn it down as you change locations and depth.
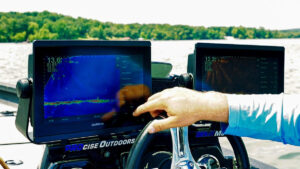
To set it go to your LiveScope Screen and down at the bottom towards the right you’ll see Gain. You can click the + or – to increase and decrease your Gain.
5. Color Scheme (3 mins, 23 secs)
Everyone sees a little differently. It’s this way on Marine Electronics for sure. Some folks see amber better while some see blue better. Sometimes on a cloudy day, one palette draws a better picture than another for different people. So that’s why there are so many options. Soukup was a big fan of Black Emerald when he was here fishing the Crappie Masters tournament on Kentucky Lake looking for crappie in stake beds and brush piles that were covered in shad fry. I like the Blue and the Amber palettes.
To set it, go to your LiveScope screen and choose Menu > Sonar Setup > Appearance > Color Scheme. Then choose the color palette that you can best see everything with on that body of water.
6. Range (4 mins, 48 secs)
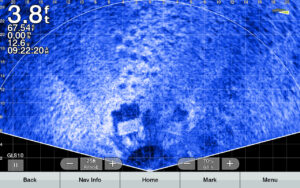
Range understanding is critical to distinguishing not only species of fish but size of same species of fish. So if you’re hunting bigger crappie and not wanting to cull through a lot of little ones, you can learn what they look like by keeping your range in close and keeping it consistent. Same with your depth. As you stretch and constrict your screen sideways (range) and up and down (depth) you change the scale and detail LiveScope can display.
Soukup has some good feedback on how far out to use Range in the video above.
To set Range, go to your LiveScope screen. At the bottom left is the Range option. You can expand out or pull it back in.
Usually I stay between 25 and 50. I use 25 when I’m fishing for a specific fish on the screen. I use 50 when I’m trying to see a piece of cover before I get on it or if I want to sit off a school and make sure my bait is landing in the right place every time.
7. Depth (6 mins, 36 secs)
Like Range, keeping your depth consistent helps identify fish and how big the fish are before you ever put a lure in their face. Soukup recommends keep the depth setting on manual so the screen won’t auto range in and out. Then set the depth to 3 or 4 feet deeper than the depth you’re in. That will keep the menu items out of the way and below what you want to see on the screen.
To Set Depth, go to your LiveScope screen and choose, Menu > Depth Range then select a depth a few feet deeper than where you’re fishing.
8. Bottom Fill & Trails (7 mins, 58 secs)
When you are fishing for fish that are hunkering on the bottom, something Walleye often do, you might want to use the Bottom Fill and Trails features.
To set these, go to your LiveScope Screen. Then choose Menu > Sonar Setup > Appearance > Bottom Fill or Trails. See a more detailed explanation of what each does in the video above.
9. Orientation (Perspective Mode): 10 mins, 39 secs
You bought the new Perspective Mode Mount and are having trouble with it auto sensing and showing you the new perspective mode. Turn the transducer to Perspective mode. Then go to your unit and on the LiveScope screen choose Menu > Sonar Setup >Installation > Orientation and choose Perspective. Or set to Auto and it should autosense when you move the transducer.
10. Transmit: 11 mins, 46 secs
It’s good practice to turn off the transducers when it’s hot and you’re going to be leaving the trolling motor on the deck for long periods of time. You can do this by turning the transmit off while the Panoptix LiveScope transducer is out of the water. Then just turn it back on when you deploy the trolling motor and start fishing.
To turn it off, go to Menu > Transmit > Off.


