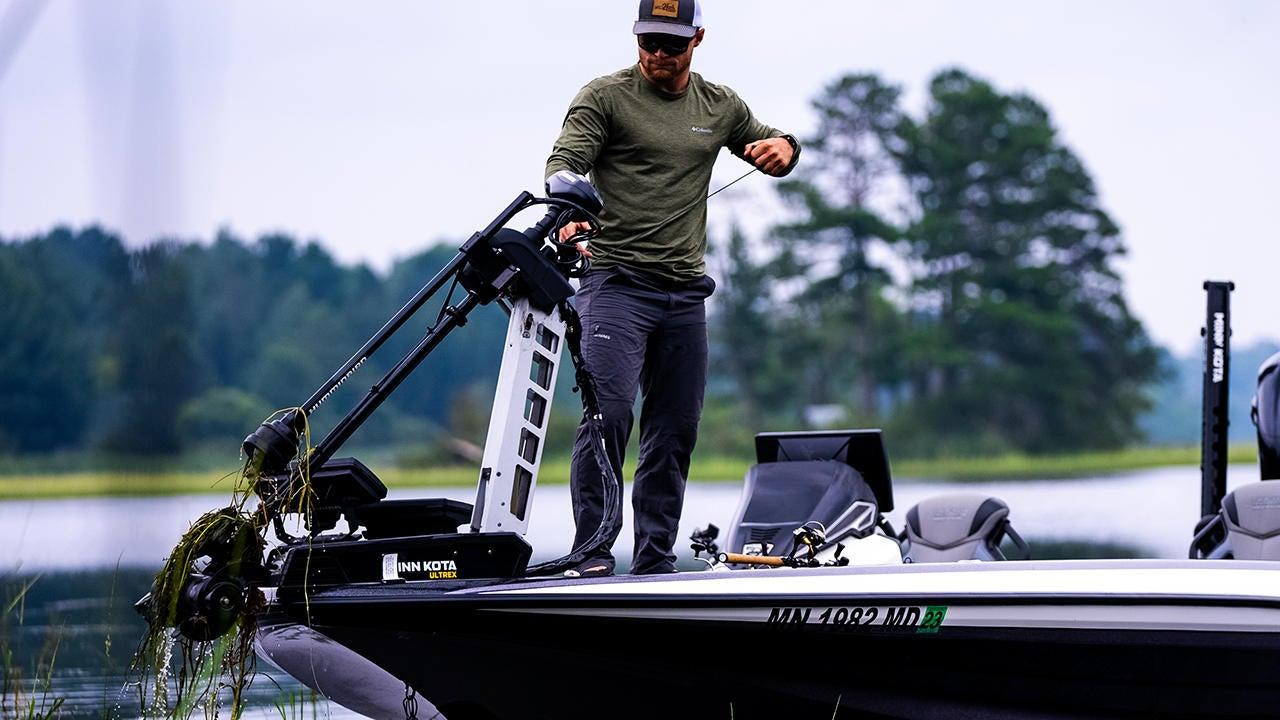
For many anglers, trolling motors are the single most vital piece of equipment on their boat! Given the sheer use and abuse they endure, it’s reasonable to expect a bit of preventative maintenance going a long way toward extending the performance and serviceable life of your trolling motor. This important maintenance video provides 10 simple DIY trolling motor maintenance steps (all brands) that anyone can perform at home or even at the ramp. Please visit 10 Trolling Motor Maintenance Tips if you prefer the written version of this helpful content.
- Step 1: Clean Behind Trolling Motor Prop
- Step 2: Inspect Trolling Motor Prop Drive Pin
- Step 3: Wash Trolling Motor
- Step 4: Lubricate Trolling Motor Shaft
- Step 5: Tighten Mounting Bolts
- Step 6: Check and Tighten Battery Connections
- Step 7: Properly Charge Your Batteries
- Step 8: Trolling Motor Cable Management and Inspection
- Step 9: Check and Tighten Battery Connections
- Step 10: Prolonged Storage Prep
* Bonus Tip: Weedless Prop Performance
TOOLS USED
- 9/16 Socket
- Pledge or another water-based silicone spray
- Soft Cloth
- Phillips Head Screwdriver
- Fine Grit Sandpaper
TROLLING MOTOR
- Minn Kota Ultrex MSI+, 52”, 36v (112 lbs)


